
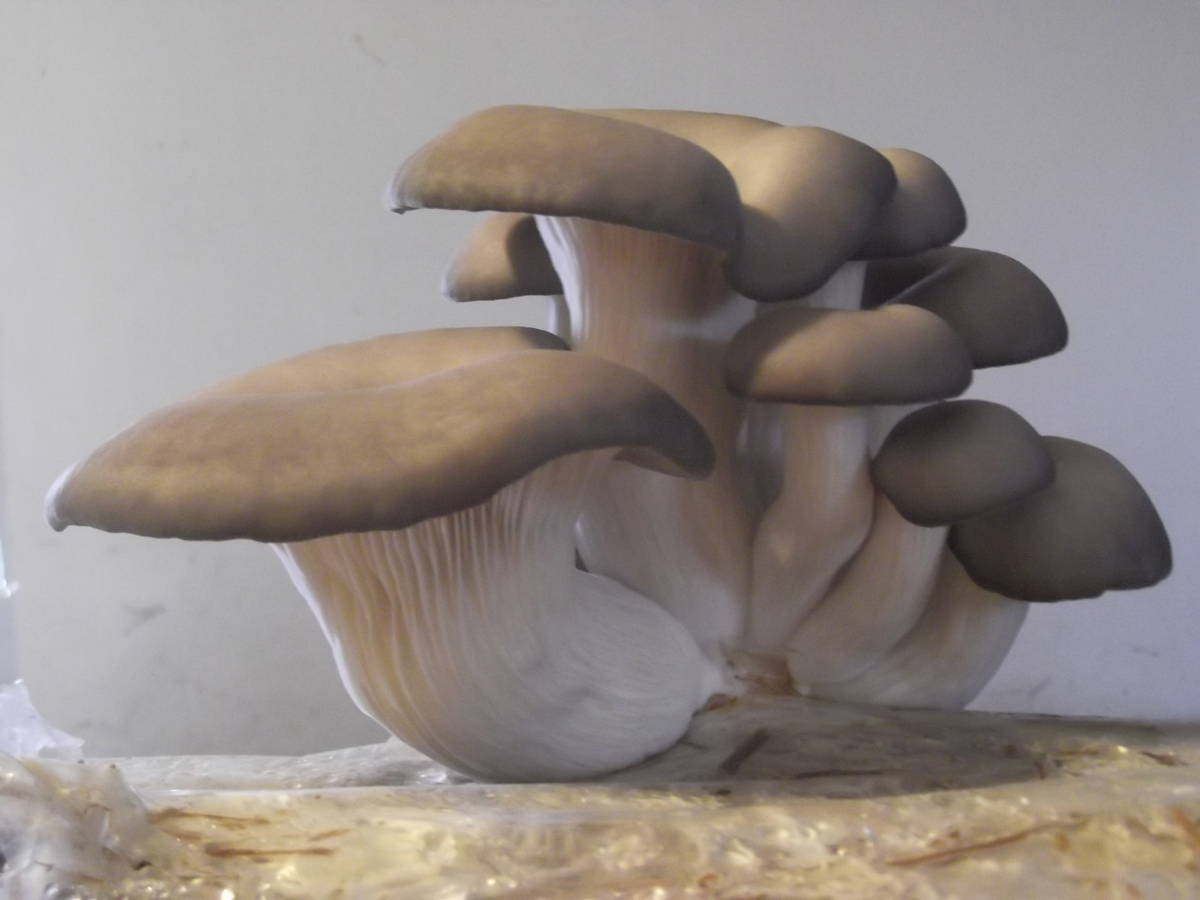
we’re talking legal, edible mushrooms here, don’t be confused. These are Plevrotus mushrooms & they are very, very nutricious!
Step 1. clean your attic or cellar and order some ready-to-fruit substrate with a well developed myceleum. The space needs to be well ventilated and in the right temperature range. You’ll also need some way of keeping the substrate moist. I can suggest a small, cheap hand-sprayer for a start.
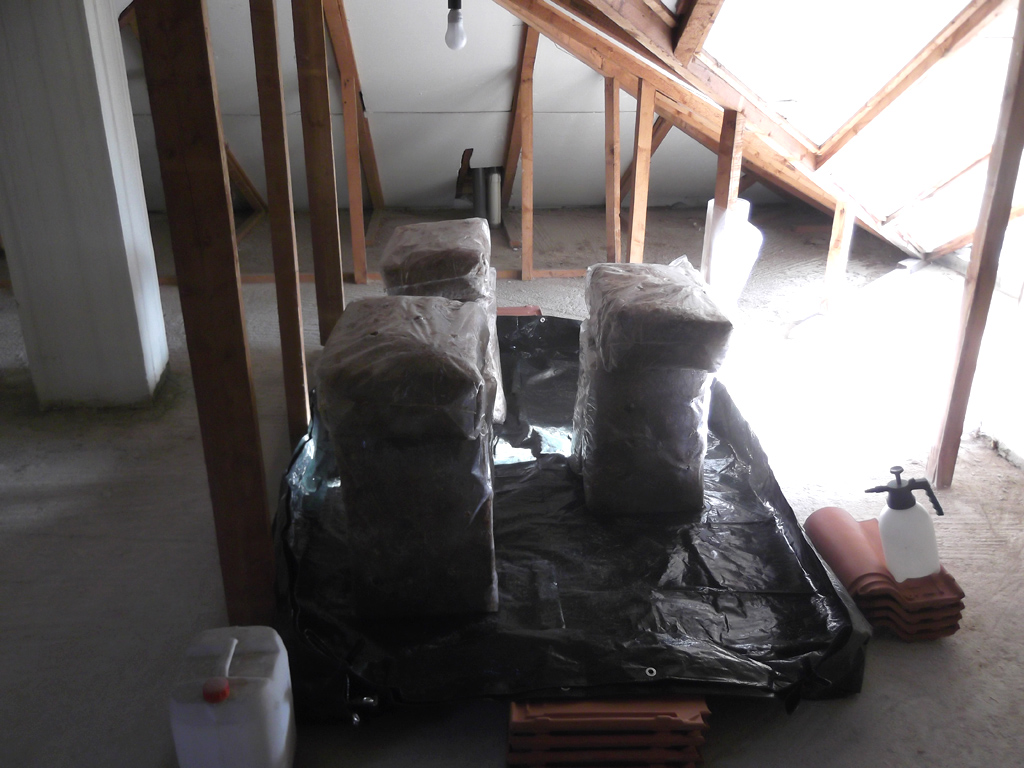
Step 2. once the substrates arrive arrange them nicely on some water-proof ground material. You can roll the sides of the material up to prevent spillage of water. The blocks should have holes cut in for the mushrooms to grow out from.
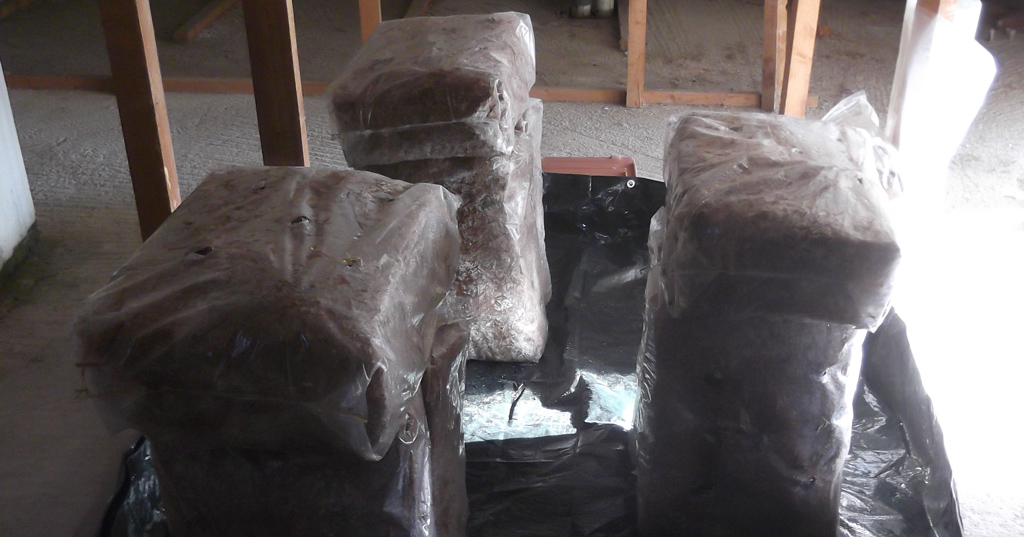
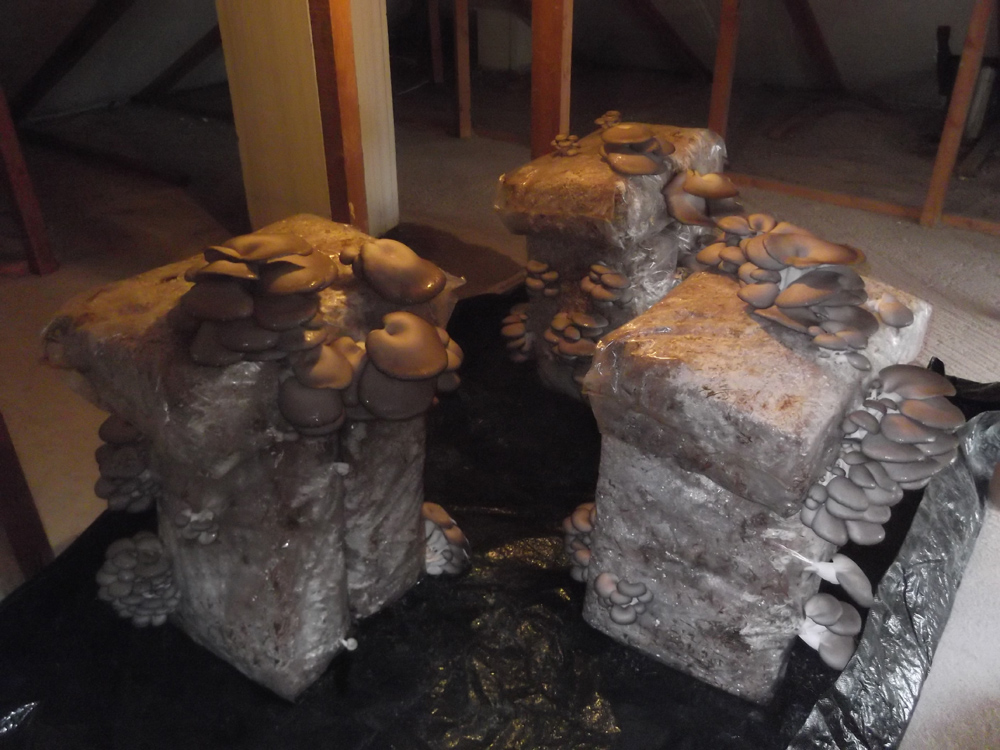
Step 3. mist the blocks with the sprayer to keep the humidity up. I suggest putting a light on a timer if your space has no natural light. Repeat this step daily. You should see growth starting after two to three weeks. First it looks like tiny white tentacles, then pins coming out of the surface, then small pin heads, then tiny mushrooms.

Step 4. They grow pretty fast, so prepare to see huge ones. After a month you should have a good flush to harvest. Harvest them!
Step 5. Store them. Somewhere cold will do the trick for a week or two. Consider drying some, which can be done in a preferably fan-assisted oven at 60 degrees Centigrade.

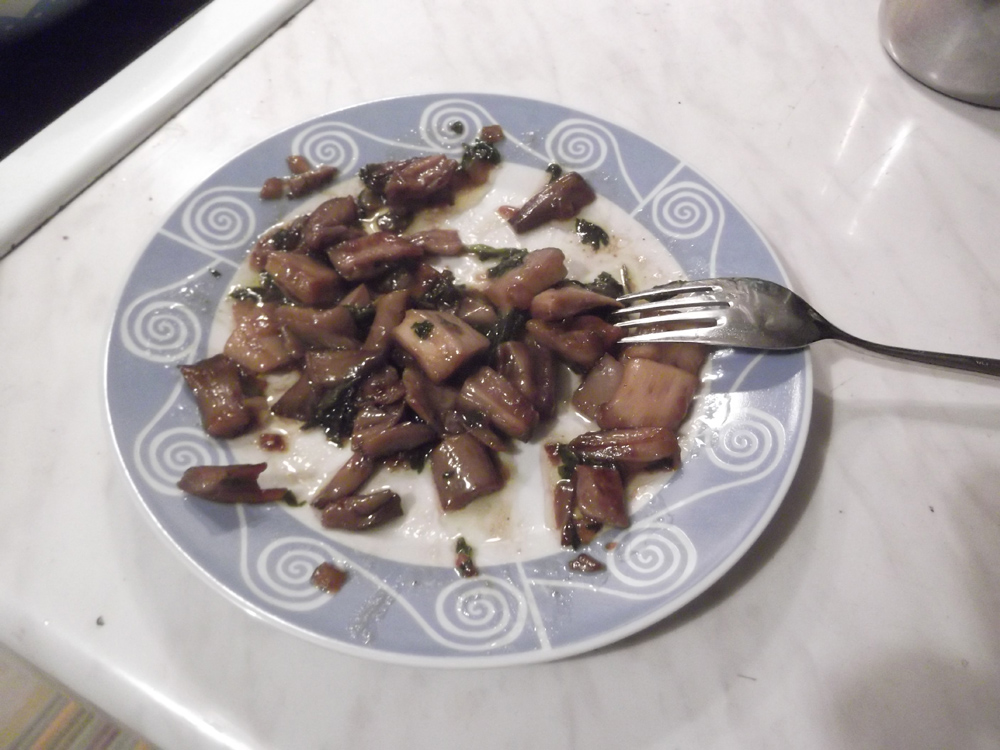
Step 6. cook them and eat them!
With such a great harvest though, it would be better to also have some way of drying them for storage.